
Before you start you need an active plan, a verified sending domain, a sender profile and approved emails for your target list.
- On Campaigns, click New Campaign.
- Campaign basics: choose the AI Personalized type, name the campaign, and pick the Target list and the sender profile. If the list's emails are not approved yet, you see Approve emails first.
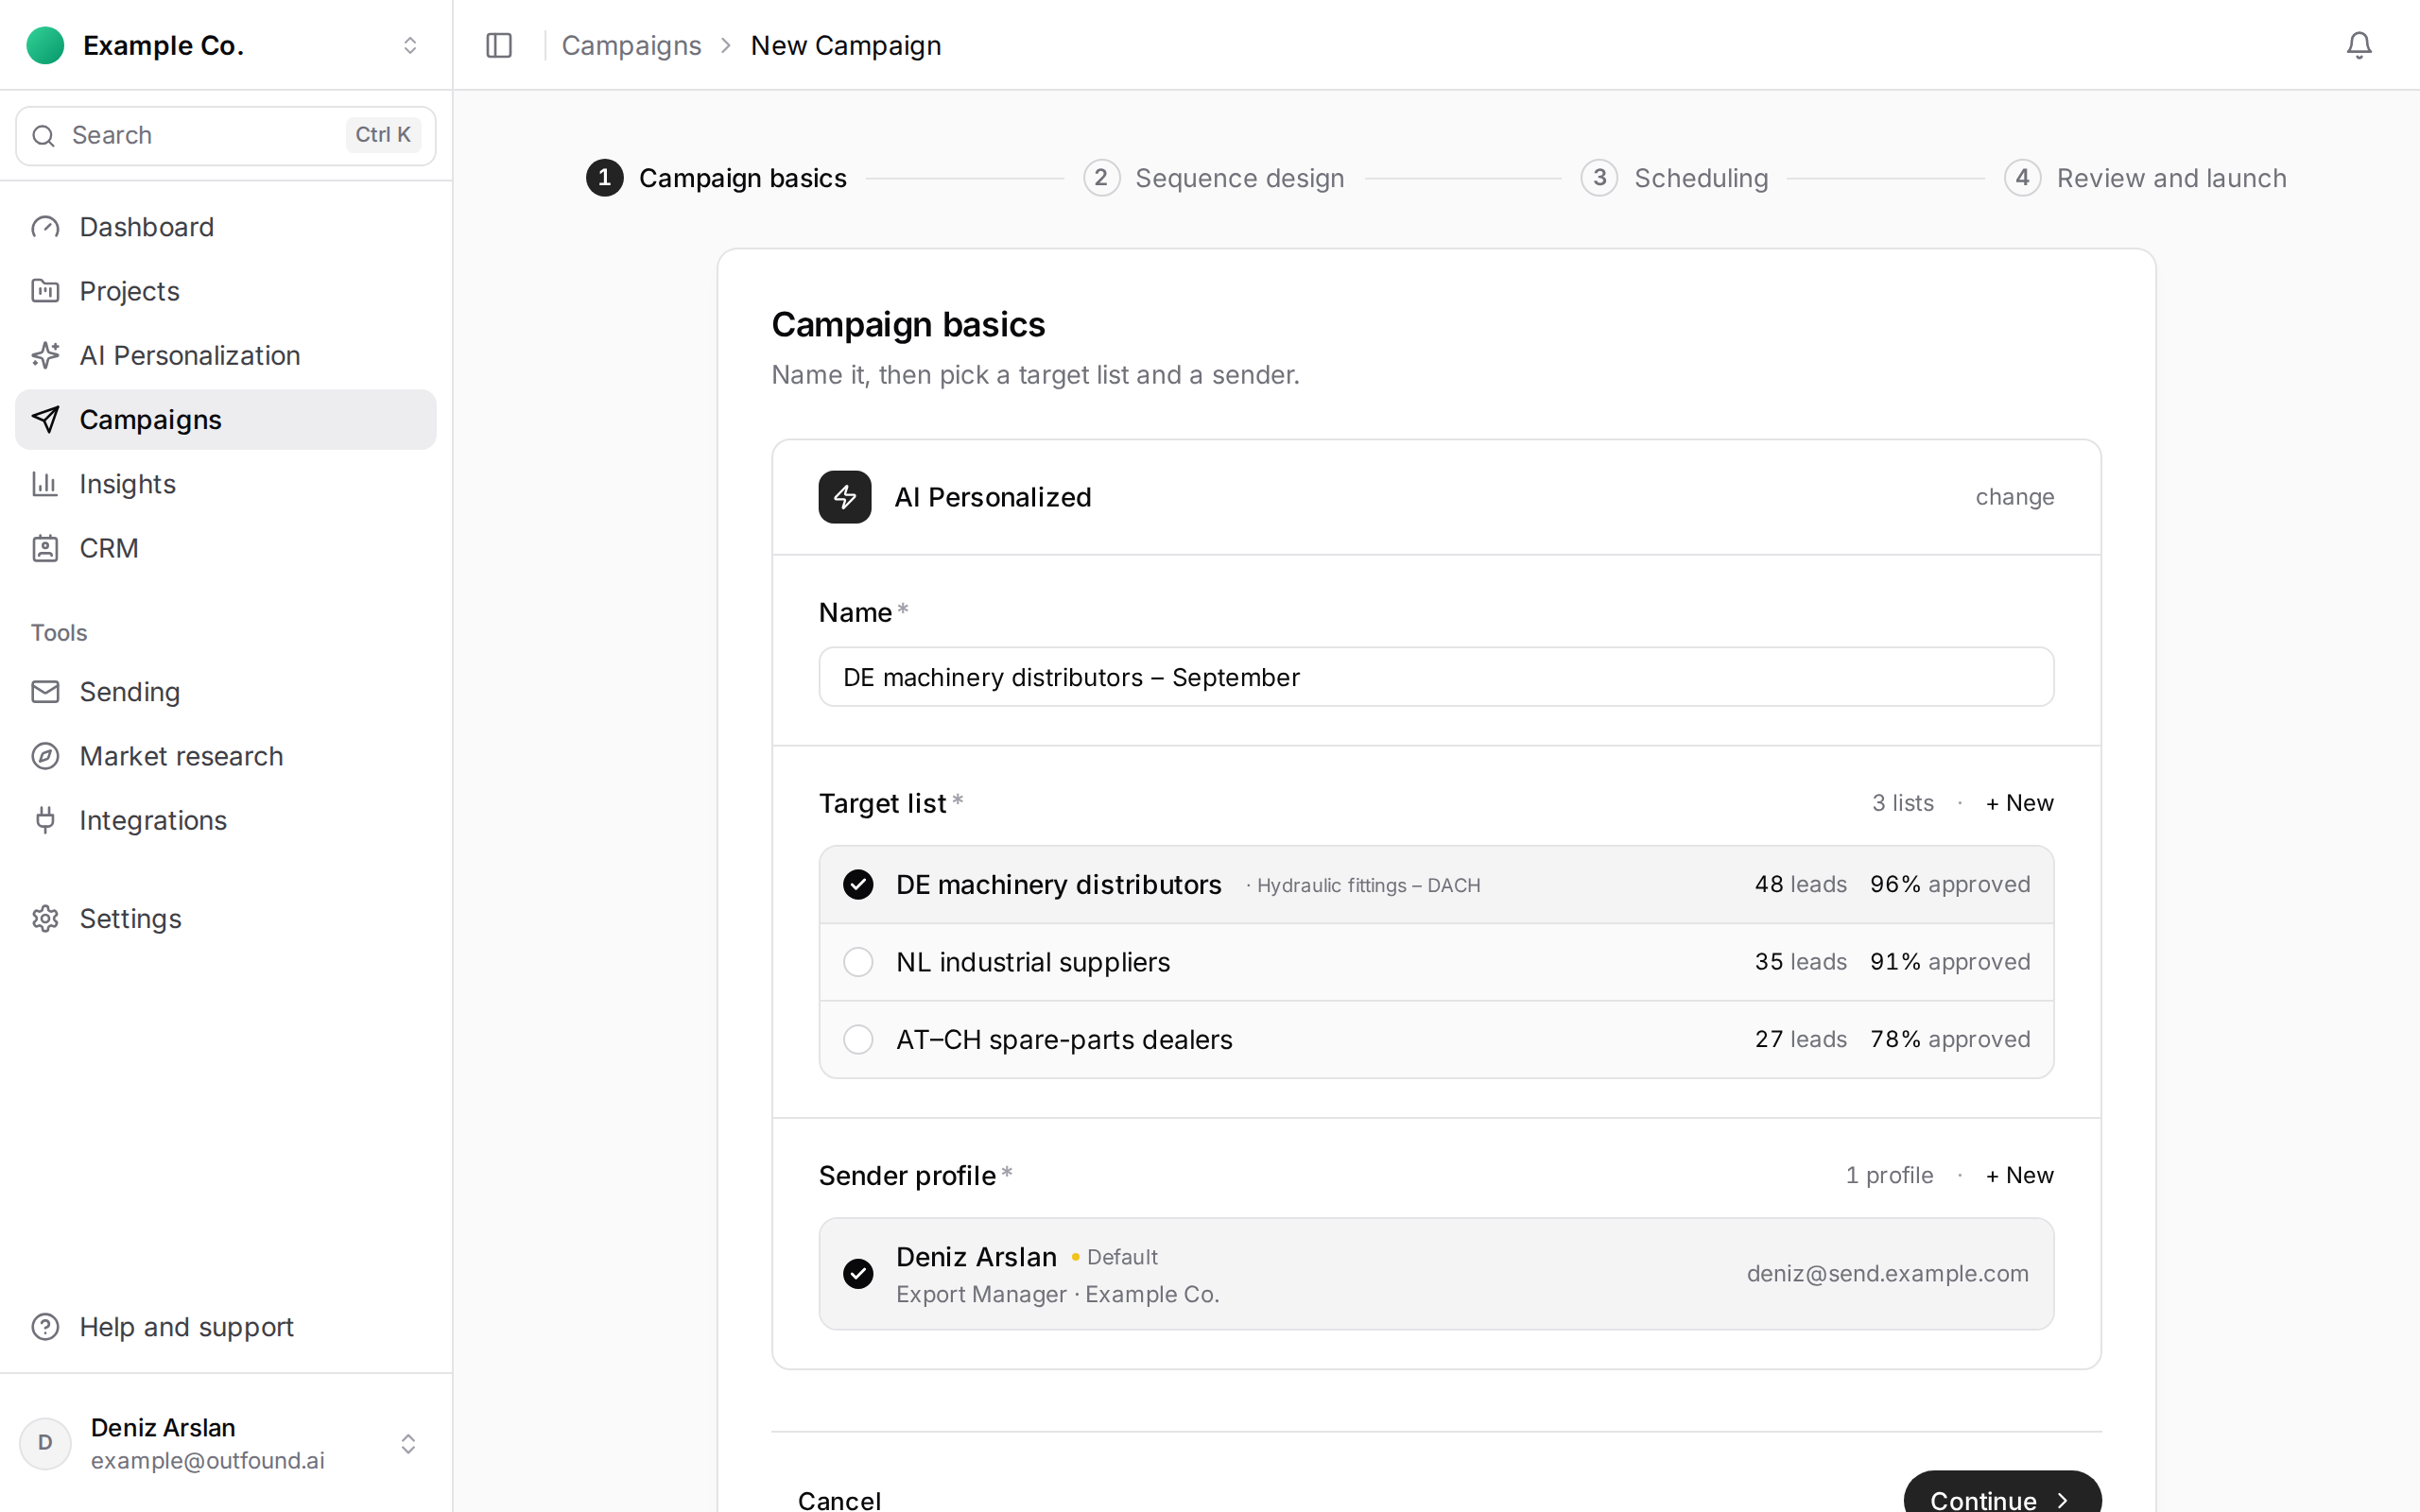
- Sequence design: build the flow with the first email, follow-ups and the waiting times between them.
- Scheduling: timezone, sending days and hours, start date and optional end date.
- Review and launch: the Launch Checklist checks the domain, sequence, schedule, audience, content, email quota and compliance. Tick the two boxes under Final confirmations.
The Compliance check row scans your target list. If the list contains blocked addresses, it warns you how many leads that is; those people are skipped in the campaign and it doesn't stop you launching. If your company name or address is missing, the row fails and the campaign can't be launched; add them in Settings › Compliance.
Once no row has failed, launching creates the campaign straight away and sending starts on your schedule.